For some people, how the kart looks is just as important as how it performs. Surprisingly, most of those people don’t make an effort to make their karts looks better.
If you are not one of those people and want to improve your go-kart appearance, you have plenty of options to make your kart look the way you want. But the cheapest way of doing it is called a paint job.
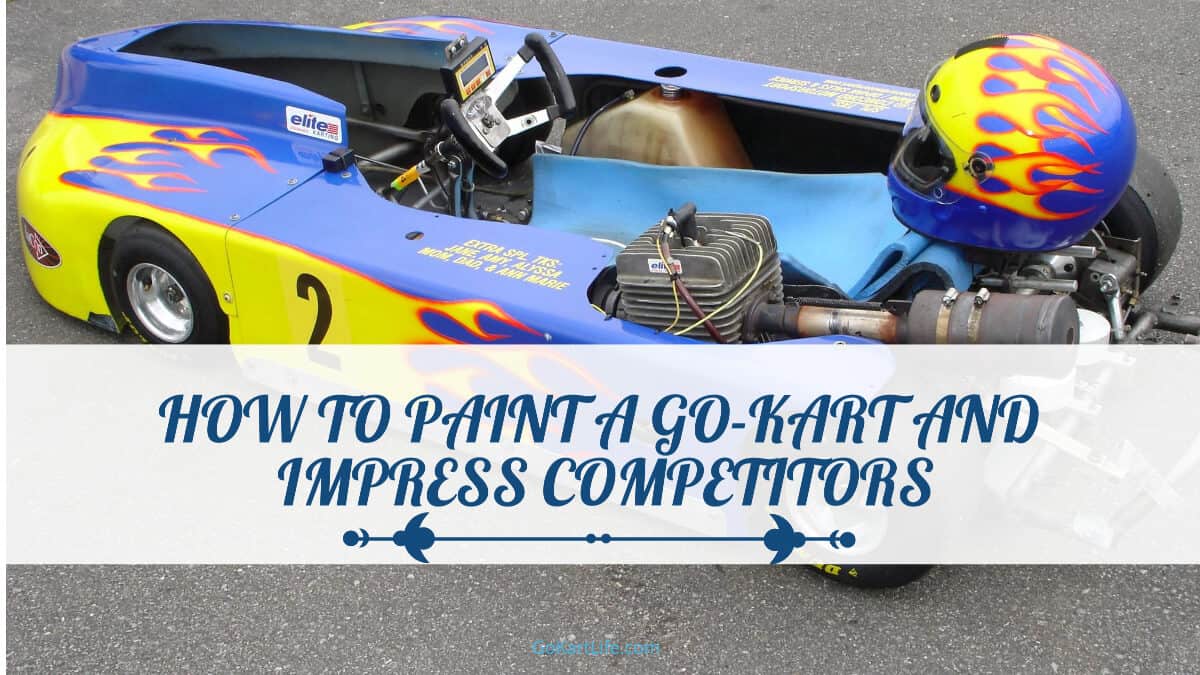
Several different parts of a go-kart can have a custom paint job applied to them. Additionally, specific components can be shined or waxed to have a distinct shine or modified to have a darker appearance.
Today, I will walk you through a simple process of painting your go-kart and making it look like a million bucks.
Simple Steps to Painting a Go-Kart
Painting is not that difficult, but if done incorrectly can create a terrible appearance. To prevent that from happening to you, let’s follow these simple steps.
Correct Imperfections of The Surface You Will Paint
When trying to correct all the imperfections on your go-kart, there are a few things to look for: rust, wear, tear, holes, bends, dings, etc. Fixing these issues and getting the frame back to as best of a shape as possible are essential before painting it because it can affect the paint job and your kart’s general performance if not addressed.
Remove Pre-existing Paint as Much as Possible
Pre-existing paint will almost guarantee a bad paint job, so If there is old paint on your kart’s frame, remove it using sandpaper. Removing the paint and getting it down to its bare surface will ensure that the new coat will not be affected by old paint chips. This will allow you to create a more even layer of paint and will make your go-kart shine.
Protect The Areas You Will Not Paint
When done prepping the surface, it’s time to cover up all the parts you will not paint. You first want to cover up any parts with painter’s tape or a plastic tarp for a body paint job. Painters tape is excellent; it allows you to be as precise as you want to when applying it to the surface.
Prime The Surface
After you are done prepping the surface and covering areas that won’t be painted, it’s time for the primer. For standard frames, one or two smaller cans of primer should be sufficient to use, depending on the area you plan to paint. Wait at least an hour for the primer to dry before painting.
Paint The Kart
Spray paint and regular brush paint will be sufficient for painting the kart’s frame, although spray paint can cover more of an area quicker. In contrast, brush painting will be more customizable and will allow you to produce more intricate designs.
If you go with spray paint, I think that’s a wiser choice; look no further than Rust-Oleum Painter’s Touch. It is great for all kinds of surfaces and will provide long-lasting shine and protection.

- Ideal for use on interior/exterior surfaces including wood, plastic, plaster, metal, masonry and unglazed ceramic
- Oil-based formula is low odor, resist chips and provides long-lasting protection
- Dries to touch in 20 minutes and covers up to 12 sq. ft. per can
If you want to add any pattern, or use various colors, be sure to use the painter’s tape to mark the different sections. Like the primer, one to two cans of paint should be sufficient to cover the entire frame. Wait until the whole structure is dry before moving the kart.
Painting Go-Kart Rims
You can customize a go-kart rims’ color by purchasing already-painted and designed rims or painting them yourself.
If you plan on painting existing rims, make sure they’re made from a material to which paint can easily stick. Afterward, ensure that you fix any irregularities and remove existing paint before starting the process. Then, prime the rims and allow ample time for drying before applying your chosen paint color(s).
Types of Paint You Can Use on Go-Karts
There are three different kinds of paint that a person can use on a go-kart: gloss, matte, and satin.
- Gloss paint is excellent for a sleek design, but it does not hide imperfections well. When done correctly, it will make your go-kart stand out from the crowd.
- Matte paint is a darker color that hides imperfections well but does not lend to great design options. It can improve the look of your go-kart, but not as much as the other two colors.
- Satin is right in the middle of the other two paint types, with options to have sleek designs and hide a little bit of any imperfections. Sating is the safest choice of the three paint options offered.
Note: Make sure you plan the design you want on your rims ahead of time, especially if it will be a bit more intricate than a standard, single solid paint cover. If you plan on using more than one color of paint, use a heat gun after applying the first color of paint to prevent bubbling and chipping as you add the second color.
Conclusion
As I said at the beginning, painting is simple if done right. I’ve presented to you all the steps needed to paint your go-kart the right way, and if you follow this step-by-step guide, I am sure that the final product will look amazing.

Goran, an experienced go-kart racer, fuels GoKartLife.com with his passion and expertise. He offers valuable insights and tips for fellow enthusiasts, fostering the growth of the go-kart community. Join Goran at GoKartLife.com and immerse yourself in this exhilarating sport.